How to install an automatic chicken door

An automatic chicken door can be installed on almost any chicken coop or chicken run.
Installation is usually a quick and easy process that you can do yourself. However, if you’d rather employ someone to set up your automatic chicken door for you, it’s an easy and inexpensive job for any handy person or tradie.
Where on the coop should you install the automatic chicken door?
The first step is to choose the exact location to install the automatic chicken door on your chicken coop. It’s best to install the automatic chicken door on the side of the coop that isn’t exposed to the prevailing weather in your area. This will minimise water exposure to the automatic chicken door to ensure the longest possible working life. If you’ll be using the light sensor to automatically open or close the door, ensure you don’t install the automatic chicken door on a coop wall that doesn’t get any daylight, such as on a coop wall that is close to a solid fence or other very shady spot.
We’re sometimes asked if it’s possible to install an automatic chicken door on a larger human sized door. This is fine, but always install a door stop if there’s a chance the automatic chicken door could get damaged if the human sized door is swung all the way open.
Chicken coop wall dimensions required to install an automatic chicken door
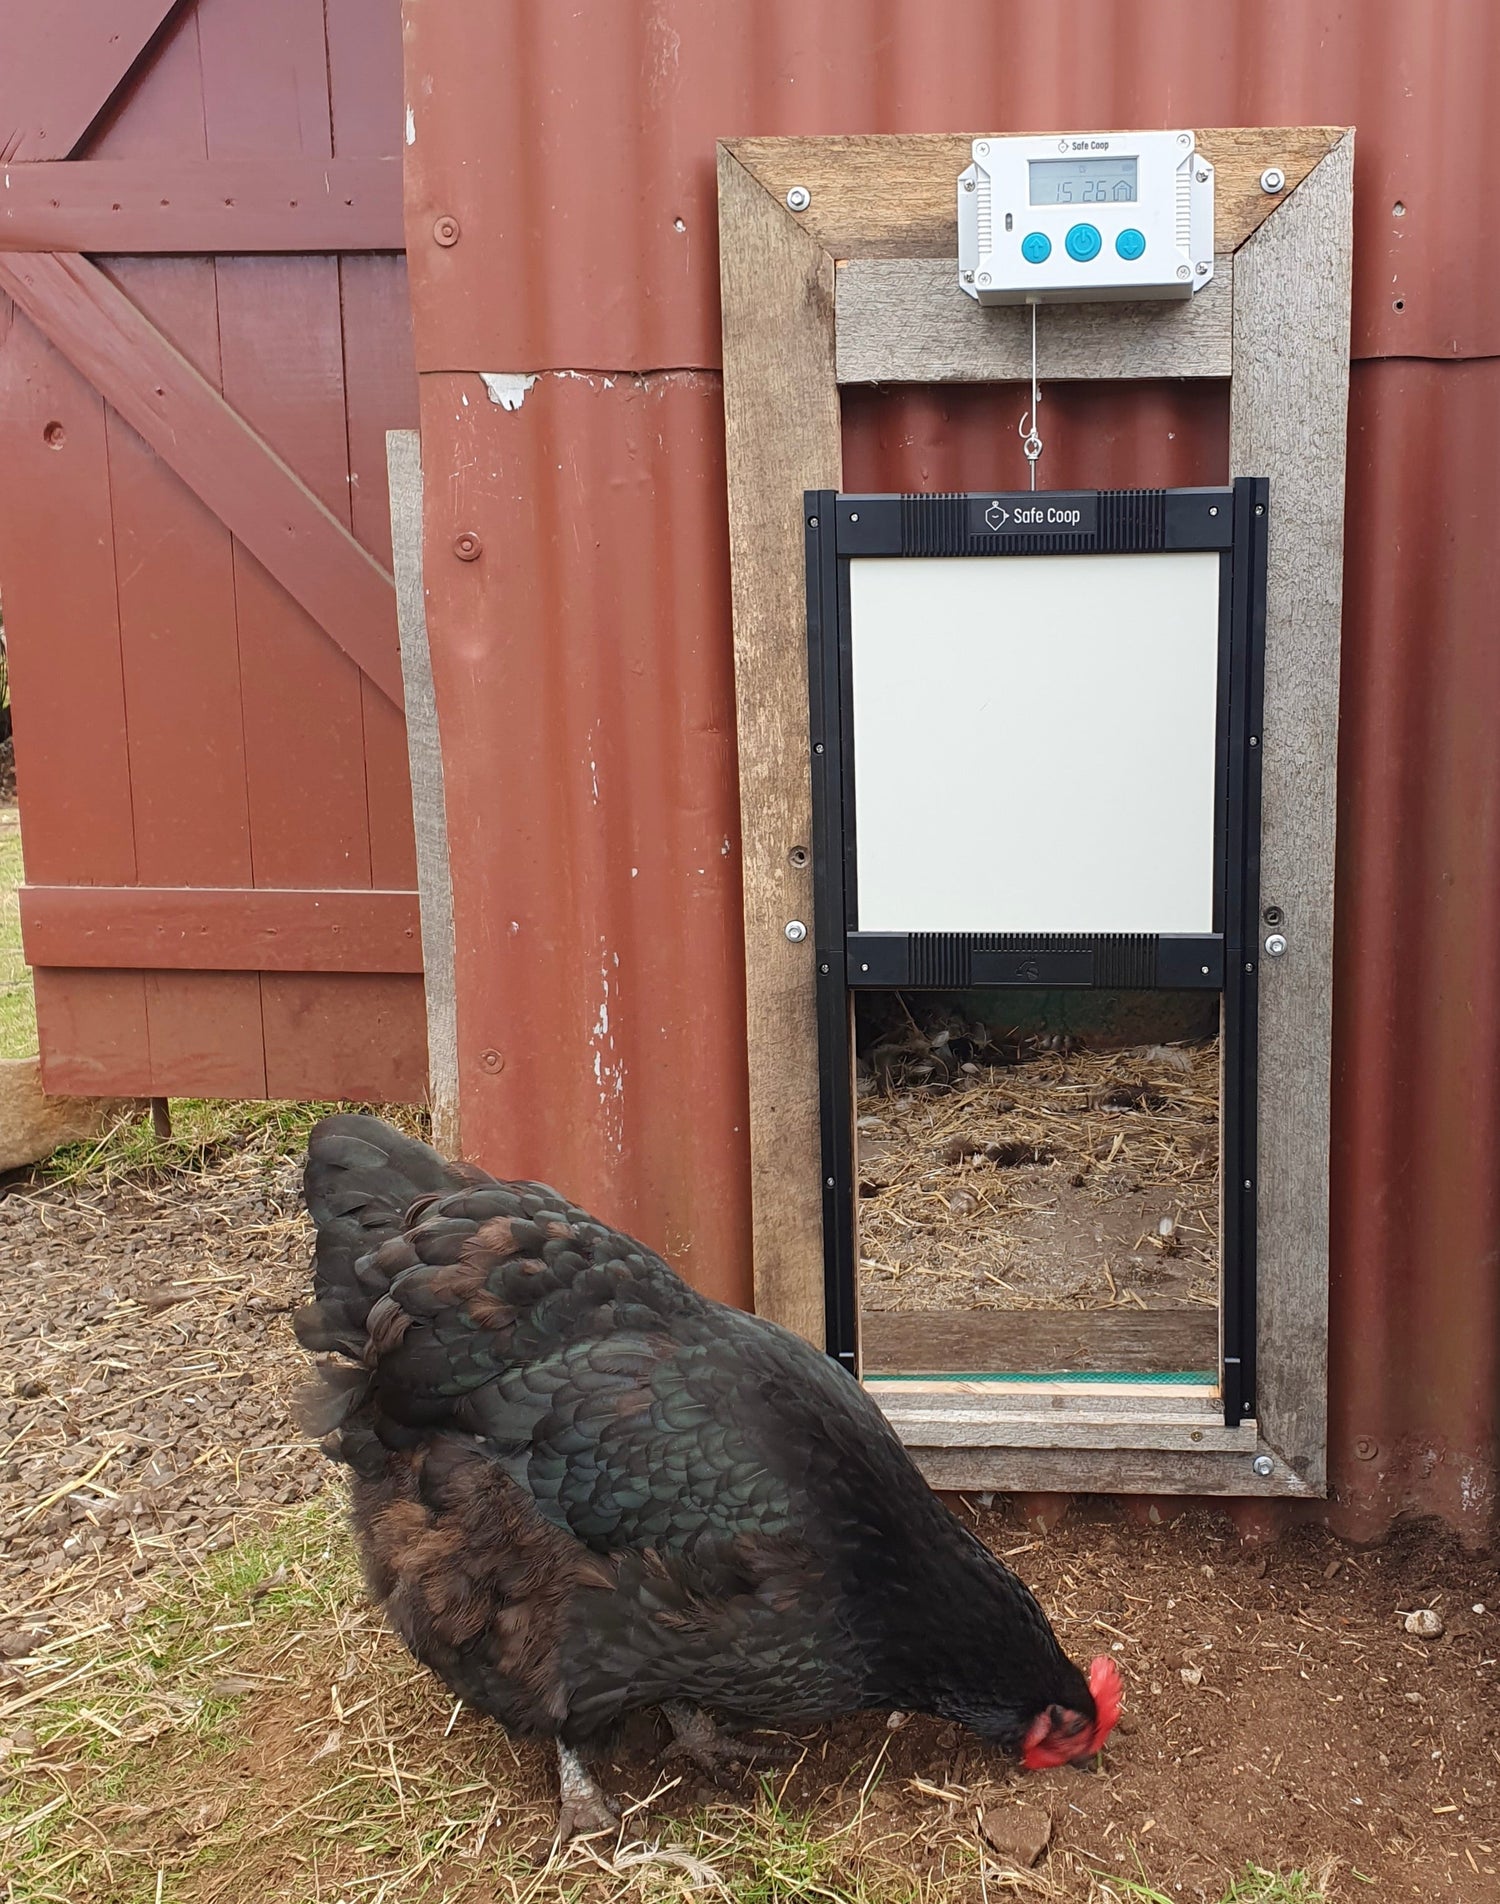
Automatic chicken doors come with two components, the door (with a built-in locking mechanism), and the door controller that sits above and opens and closes the door by winding up or releasing a cord attached to the door. Both of these components will need to be attached to your chicken coop.
The total area required for the Safe Coop® automatic chicken door is 82 cm high and 30 cm wide. If the area on your coop is less than 82 cm tall, you’ll still be able to install the automatic door. However, the maximum door opening height will be less than the standard opening height of 32 cm. For example, if the area on your coop wall is only 75cm high, the maximum door opening height will only be 25 cm. This will still be high enough for all standard and bantam chicken breeds. However, it’s not ideal for larger poultry such as ducks.
If your chicken coop wall is significantly shorter than 82cm tall, you can always attach a plank of wood to the chicken coop to make a surface that is 82 cm tall to attach the door controller to. In this case, the chicken coop only needs to be 63 cm high (the height of the door runners).
Installing the door on different chicken coop wall surfaces
You can install an automatic chicken door on pretty much any coop wall surface. However, some surfaces will require more preparation than others. For example, a coop wall with a solid and flat surface made from timber, plywood, or cement sheet will require minimal preparation compared to a corrugated iron or wire surface where additional framing or support may be required.
Installing the chicken door on a flat (timber, plywood or cement sheet etc.) surface
Providing the surface is plumb and true, the door and door controller can be attached directly to the surface without any additional steps. If the surface is not even, extra material such as loose pieces of cement sheet, plywood, or anything else you have available can be placed behind parts of the automatic chicken door to act as a spacer and even out the surface.

Installing the chicken door on a wire surface
Where the door or door controller will be attached to a wire surface, it's a good idea to place a piece of timber on either side of the wire and screw them together with timber screws. This will create a flat and sturdy surface on the wire to attach the automatic chicken door or door controller to.

Installing the chicken door on a corrugated iron surface
The corrugations in corrugated iron make it a challenging surface to attach an automatic chicken door to directly. It’s usually best to cut out a larger section of the corrugated iron and build a simple timber frame to attach the automatic chicken door to. Alternatively, you could attach a plywood or cement sheet on top of a section of corrugated iron to provide a flat surface to attach the automatic chicken door to.

Cutting out a door opening for the chickens to walk through
You’ll need to cut out a door opening in the coop for the chickens to walk through. The standard size for a chicken door is 32cm high and 25cm wide. These are also the dimensions of the Safe Coop® automatic chicken door opening. This door opening is large enough for all chicken and duck varieties. Depending on the coop wall material, there are a number of tools you could use to cut out the door opening including a hand saw, power saw, multi-tool, tin snips, Stanley knife, or an angle grinder.
Attaching the automatic chicken coop door to the coop wall
The Safe Coop® automatic chicken door can simply be screwed into the coop wall using a handheld Phillips head screwdriver and the stainless steel, self-tapping screws provided. The door controller can then be attached using the included stainless steel, self-tapping screws provided 10 cm above the top of the door rails. Once the door and door controller are attached to the coop, the cord that connects them can be tied to the door. Your automatic chicken door is now ready to go!
The Safe Coop® automatic chicken door comes with easy-to-follow instructions with diagrams that cover all aspects of setting up your new automatic chicken door. You can download a digital copy of the instructions on the Service & parts webpage.
Installing additional weather protection for the door controller
The Safe Coop® automatic chicken door controller comes with a waterproof ASA case and a silicone seal to provide excellent weather protection for the electronics within. However, it’s always a good idea to provide multiple layers of weather protection to ensure the long-term reliability and lifespan of your automatic chicken door. This is particularly relevant if your automatic chicken door is installed on a coop wall that is exposed to the prevailing wind/weather direction and isn’t protected by a coop roof overhang.
The weather protection could be in the form of installing a shelf directly above the door controller, or building a simple structure out of timber, cement sheet, or roofing iron around the top and sides of the door controller.

Why choose Safe Coop®?
We’re an Australian company that designs automatic chicken doors to reliably defend your chickens from the toughest Australian predators.
Our chicken doors are made to last using quality materials including durable ASA plastics, stainless steel, aluminium, and brass. You can trust a Safe Coop® automatic chicken door to keep your flock safe every night.
Every chicken door we sell comes with intelligent and reliable technology, allowing you to enjoy sleep-ins and go on holiday without needing to worry about your flock.